Wednesday, December 29, 2010

Building the Butler Pantry

Last Sunday, our friend Steve came to help us build the butler pantry wall. For months, a plastic trash bag (okay, a large plastic sheet that strongly resembled a trash bag) has hung between the former dining room and current living room. Because we intend to convert the living room into a large, formal dining room, we want to separate it from the cozy kitchen/great room that we're currently constructing.

The first step was to finish removing the hard wood flooring from the former dining room so that only plywood remained. We also had to put in some new plywood where there was none.


Next, we built the frame for the new wall and moved it into place.


(If you've never done this, you have no idea how difficult (and smelly) it is to use a propane-propelled nail gun, especially with your non-dominant hand.)

The last steps were to put up dry wall and add a pocket door. Obviously, there's more work down the road, but we accomplished a great deal in just one day!


More Windows

Christmas Eve saw the installation of five more windows in the back of the addition. Only one more window remains to be put in, and that's the pantry window on the side of the house.


Thursday, December 23, 2010

Merry Christmas To Us!

On December 22, Mike and I received an early Christmas present from an elf driving a Penske truck. The windows finally arrived, and here they are in their boxes, complete with a green ribbon on each one! We received 12 of them, one for each day of Christmas!


Six of the windows were installed today, and the others will be installed tomorrow. The windows were easier to put in than expected, but it was cold outside.


Monday, December 13, 2010

Waiting on the Windows

Back in October, Mike ordered 12 windows for the addition. We expected they would arrive within two weeks, but it is now the middle of December, and we are still windowless. The manufacturer is completely overwhelmed with orders due to the tax credit being offered if certain types of windows are installed before the end of the year.

Even if we receive the windows soon, installation will be difficult. Here's why:


Some of the materials used to install windows (like sealants or adhesives or other stuff I don't know about) are only viable above a certain temperature. If we don't experience a thaw, then Mike plans to cover the addition with a tarp to heat the space. And that will be a big pain!

Monday, November 1, 2010

Dirty Work

We have to finish backfilling around the addition's foundation. This task was mostly completed about two months ago, and now we're covering up the last few inches. We're also in the process of preparing the yard for the winter weather that is fast approaching. This means that we have to modify the slope of the ground so that water will drain away from the house, rather than toward the foundation.

Here we are having fun digging nasty, sticky mud:


This photo shows our progress along one side of the addition. (In case you can't tell, the backfilling is complete along the right side of the photo.)


The Roof, The Roof, The Roof Is On, But Not On Fire

That would be really bad.


Sunday, October 17, 2010

Update on the Roof and Other Stuff

For days, our computer would do nothing but display the blue screen of death, which is why I have not posted anything to the blog in a couple weeks. Mike was able to spend a little time getting it to work, which is not exactly what he needed to be doing while trying to put a roof on the addition.

As I write this post, Mike is up on the roof, hammering away. We are very close to having shingles covering the new surface and will be relieved once this major step is complete. Next we'll move on to the windows, and after that we might be able to breathe a little more easily.

Here's what's happened since my last post went up:

1) The roof over the back windows was built. No shingles yet, but the structure is there.


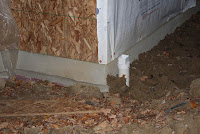
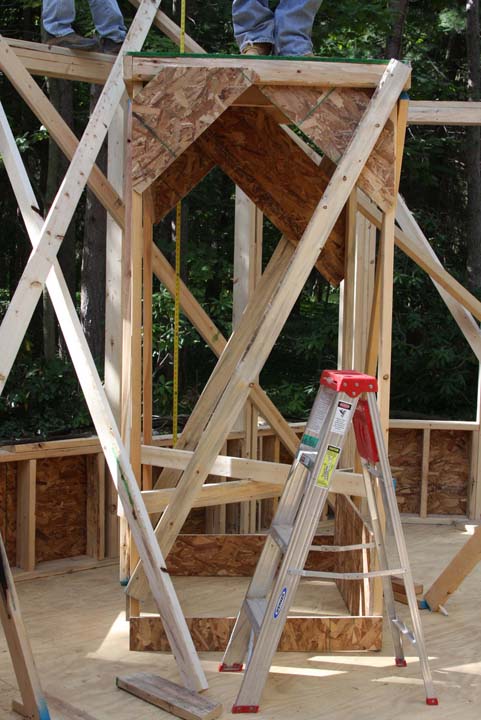
2) The new bump out, which will house the butler pantry, was constructed.


3) As I already stated, the roofing materials have mostly been hammered on.

Our new furry friend is still living with us. It looks as though Ashby has become a permanent resident. He's a bit of a troublemaker, but what can you expect from an energetic kitten? The adult cats seem to have accepted his presence, although without much enthusiasm. I truly don't blame them.

Ashby thinks he's a pro wrestler. He constantly sneaks up on Brown One, Gray One, and Charcoal and throws his front arms around their necks and takes them down. I'm surprised that they allow this given that they're so much bigger than he is. I don't doubt they'd like to teach him a lesson, but for some reason they hold back. But at least they do have their moments where they get along.


Tuesday, September 28, 2010

A Closer Look at the Roof (and a New Friend)

Since our last entry, we've made more progress on the roof. We finished putting the rafters up and have added about half the sheathing.

Here are some videos that explain our work in greater detail.

And here's the new friend we reference in the title of this entry.

Wednesday, September 22, 2010

The Start of the Roof

Below are some pictures of the roof in progress, for all those eager to see the latest.


Saturday, September 11, 2010

Bump Out Be Gone!

We were supposed to build the roof of the addition today, but Mike found a slight flaw in the design. Our architect suggested he consult with an engineer, which resulted in a construction delay.

To make good use of our time, we worked on demolishing the bump out in our dining room and cleaning up a pile of construction debris. We also tore up the floor in the dining room, which will no longer be the dining room. The space will become part of the kitchen/great room, and the current living room will become the dining room.

The Ridge Beam

On Thursday, Steve, Mike, and I worked on the ridge beam, which consists of two long, flat boards that have been nailed together.

I hammered in most of the nails holding the boards together while Mike and Steve sawed them down to just the right size.

Once assembled, it was time to hoist the beam into place, which was easier said than done. Mike and Steve crafted a sort of totem pole. While one end of the beam was resting on the roof, the other sat on the floor of the addition. We placed the top of the totem pole under the beam, then slid the pole along the length of the beam to raise it up.

Now, this sounds very easy, but I have to say this was one of the most frightening things I have ever done in my life. For much of the time, I was holding the totem pole, by myself or with Steve, while the beam wobbled several feet above our heads. Moving the totem was tough work, and Steve and Mike quickly realized they needed to widen its base. After a quite a struggle, the beam finally reached its fnal destination!

Once the ridge beam was in place, the guys still needed to work on it, so for easy access, they built this handy stand.